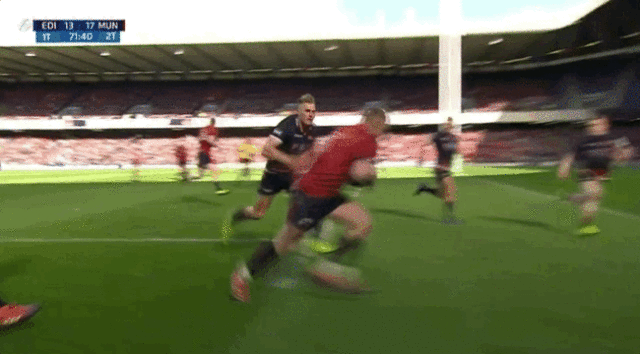
AS ANTICIPATED, THERE was little between Edinburgh and Munster at Murrayfield on Saturday but two clinical Keith Earls tries made the difference as Johann van Graan’s men advanced into the Champions Cup semi-finals.
The first score arrived in the 18th minute when Munster were down to 14 men with Tadhg Beirne in the sin bin and after Earls had been involved in the build-up.
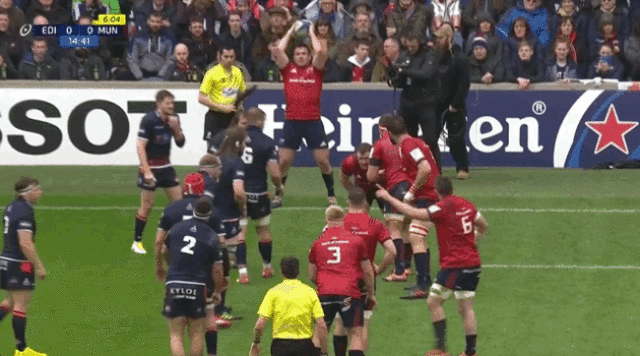
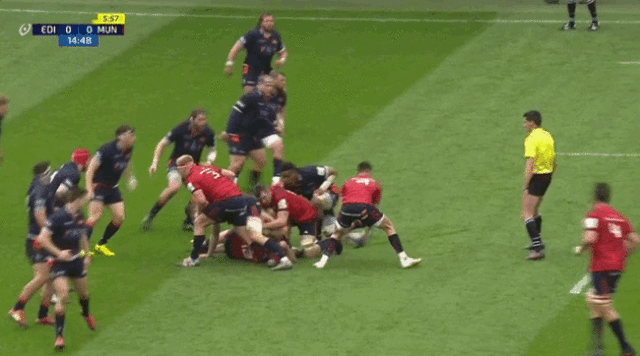
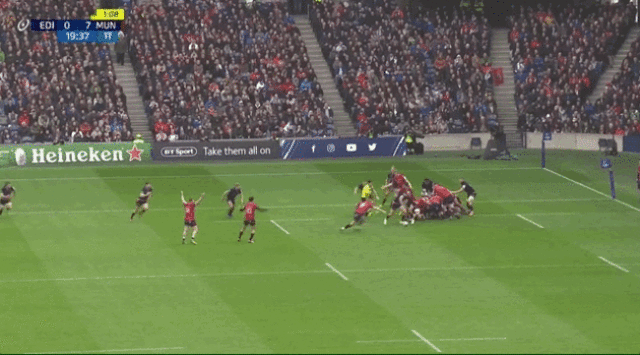
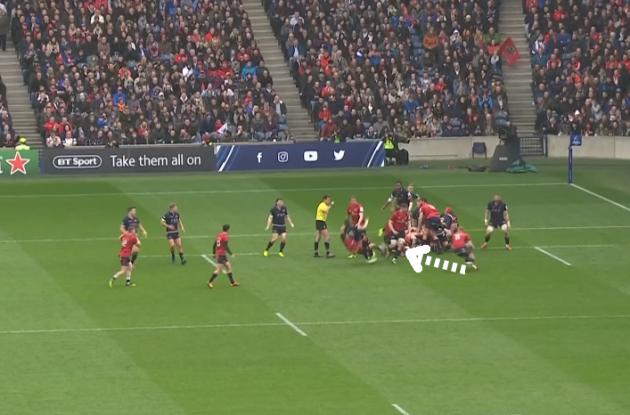
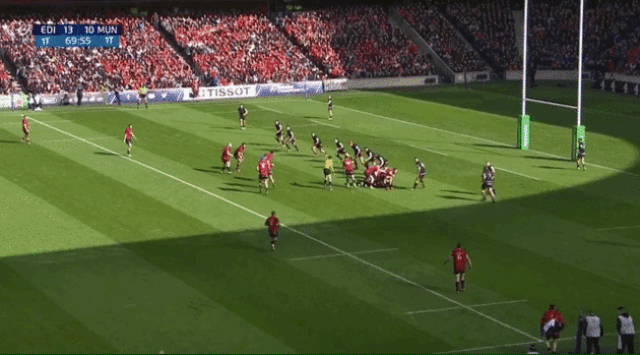
Munster started with a lineout five metres inside the Edinburgh half and applied pressure in a characteristic and clever manner.
Click here if you cannot view the clip above
The initial lineout play is intelligent and allows Munster to immediately get over the gainline.
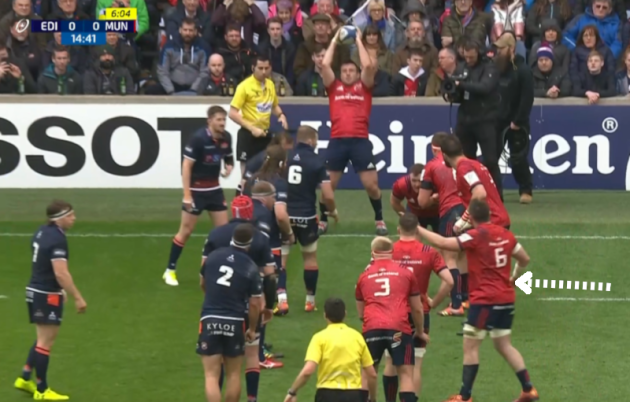
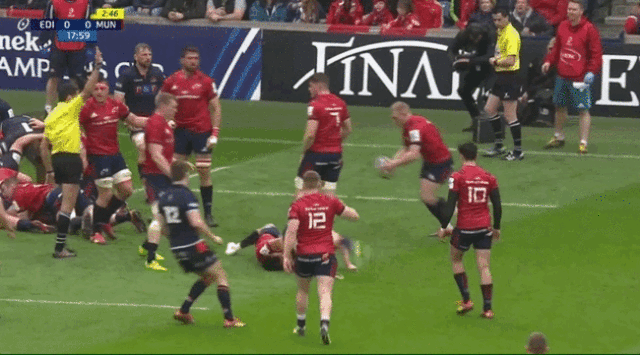
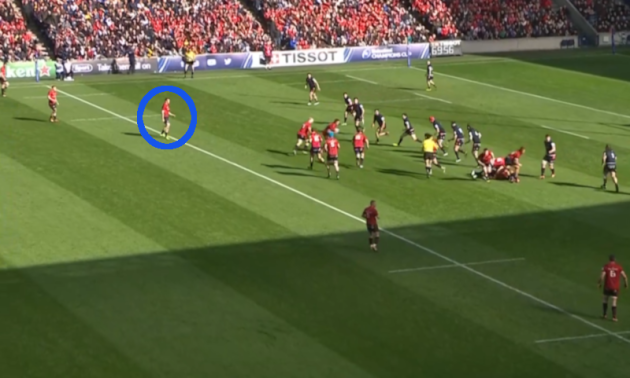
Munster distract Edinburgh before the throw, with Peter O’Mahony [white below] questioning their numbers before walking into the line…
The key here is that O’Mahony’s movement to dummy lift Jack O’Donoghue draws in Edinburgh’s defensive receiver, Hamish Watson [red below], who joins the lineout in a bid to lift Grant Gilchrist…
However, Niall Scannell’s long throw is actually going to go all the way over the back of the lineout to his brother, Rory, bursting up from the backline to carry.
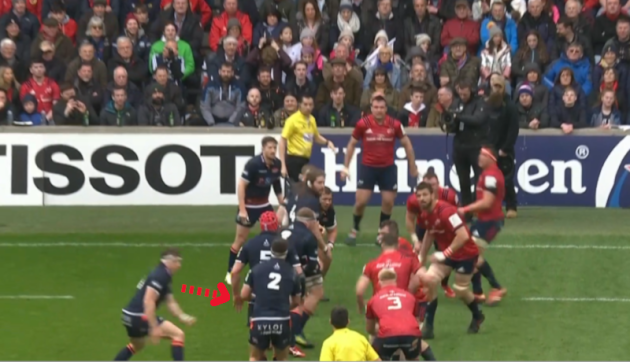
Generally, Watson would be the first defender tasked with dealing with Scannell in this situation, coming from the ‘tailgunner’ position behind the lineout, but he’s been drawn into the set-piece.
Instead, Stuart McInally has to turn from the back of the lineout and attempt to track back…
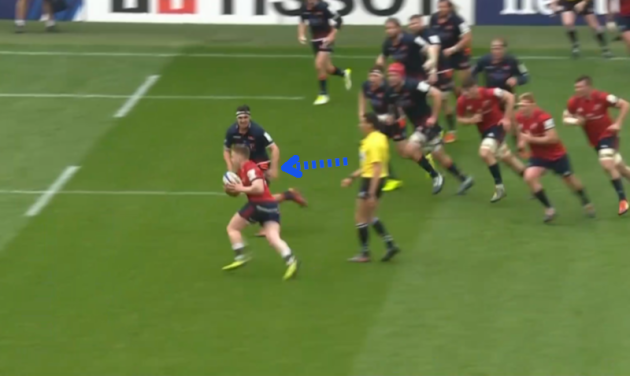
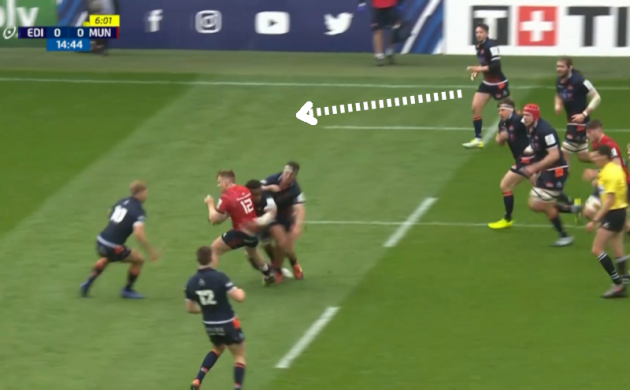
Scannell uses his footwork to step to his left as Bill Mata advances up from Edinburgh’s backline defence, ensuring he is well over the gainline by the time he’s grounded.
John Ryan clears away Jaco van der Walt from the breakdown, as O’Donoghue and O’Mahony also resource it, then Murray launches the second phase of this pre-planned play.
Click here if you cannot view the clip above
Munster often use kicking to put the opposition under pressure and that’s the intention here again.
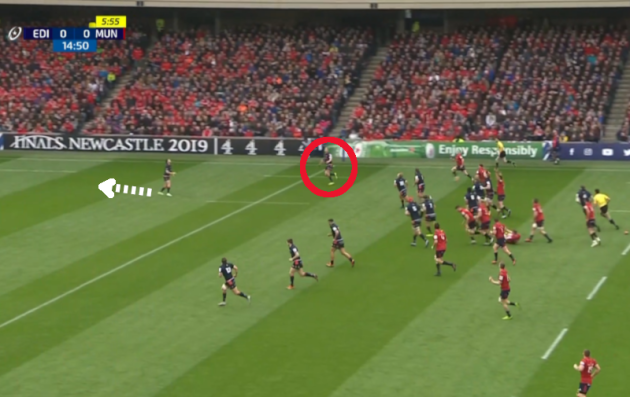
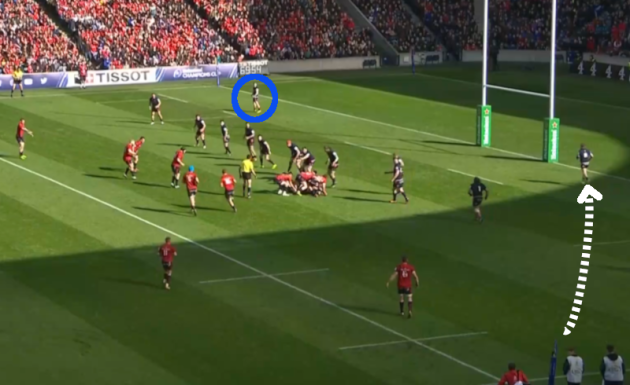
Edinburgh scrum-half Henry Pyrgos has started this defending in the five-metre channel close to the lineout.
As Scannell carries for Munster, we can see Pyrgos beginning to track back down the pitch.
Munster have done their homework on Edinburgh, of course, and they’re now intent on taking advantage of what they have scouted.
Pyrgos routinely drops into the backfield from defensive lineouts similar to this one and Munster look to target him there.
As Murray kicks, Pyrgos is still backing downfield [white below], with left wing Duhan van der Merwe [red] situated higher up the pitch.
To be moving backwards is far from ideal for Pyrgos, ensuring he is in a poor position from which to jump and potentially catch the ball.
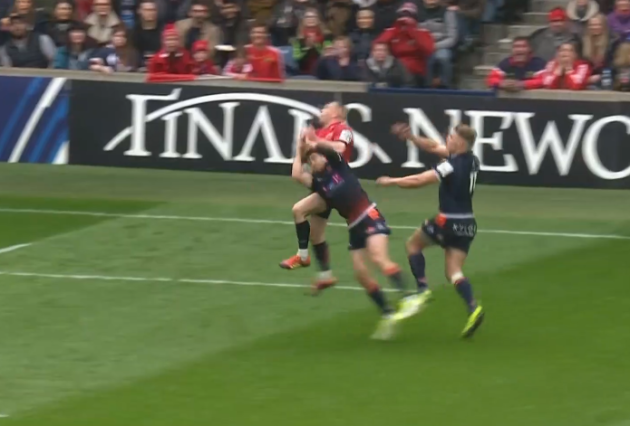
Murray’s kick is superb, hanging in the air behind Pyrgos and allowing time for the hard-working Earls to get up and contest.
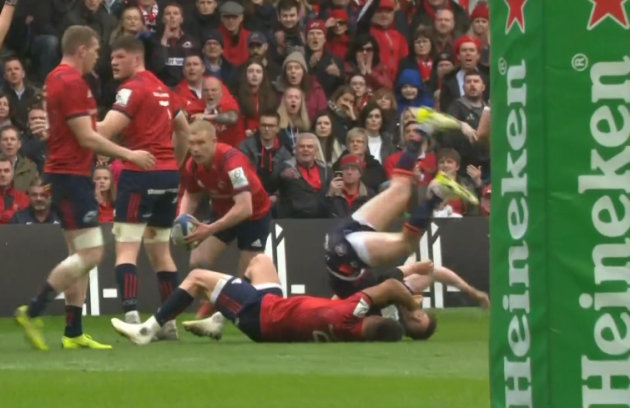
Van der Merwe does his best to buy Pyrgos time and space by accelerating in front of Earls’ running line, but the Munster wing gets beyond this ‘escort’ effort and into the air.
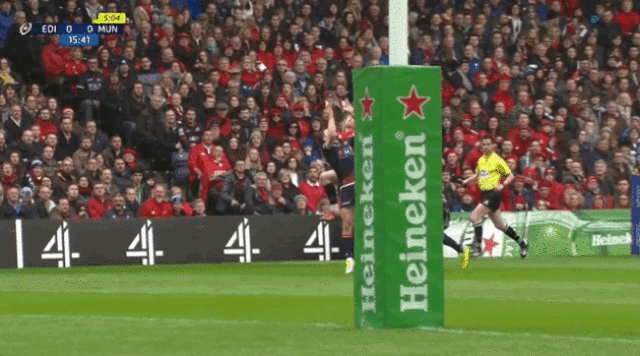
Earls leaps above the back-pedaling Pyrgos but doesn’t win the ball cleanly, as it falls loose heading towards the Edinburgh tryline, with van der Merwe grounding it in the in-goal area.
The TMO review is key here, as referee Pascal Gaüzère calls for a second look to see who had touched the ball last before it entered the in-goal area.
Click here if you cannot view the clip above
Edinburgh boss Richard Cockerill felt his team were hard done by here, but the replay does appear to show the ball deflecting off Pyrgos’ left hand.
That’s the decision Gaüzère and his TMO reach and Munster are awarded a five-metre scrum after it’s been adjudged that Edinburgh brought the ball back over their own tryline before van der Merwe dotted it down.
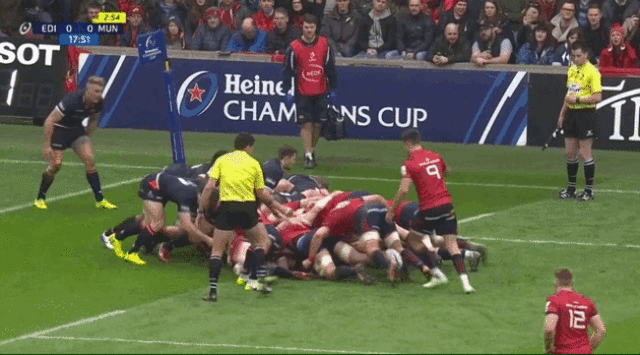
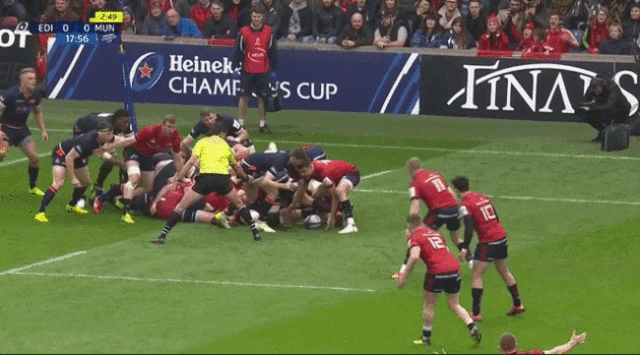
The try arrives from the resulting scrum, although not in the fashion many would have anticipated.
Pyrgos is centrally involved again.
Click here if you cannot view the clip above
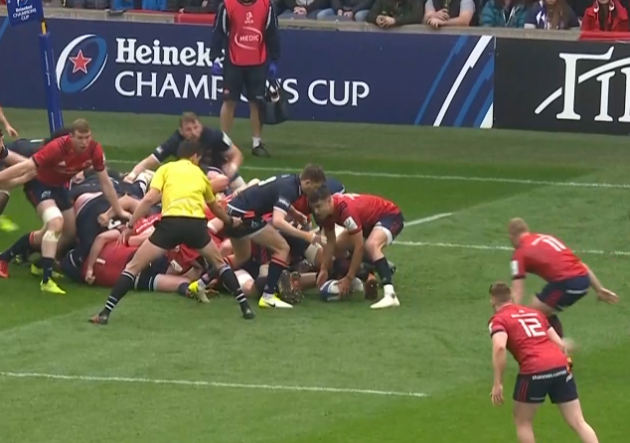
With centre Chris Farrell lending his weight as a makeshift openside flanker, Munster get the ball to the back of the scrum, from where Murray is set to pass it away.
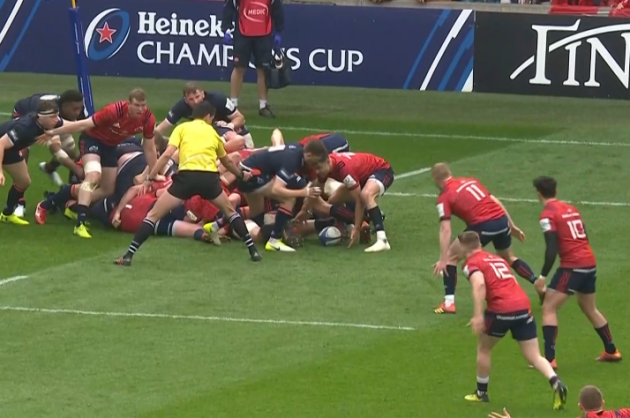
As the scrum collapses, Pyrgos advances up the side, with Gaüzère warning him, “No, nine!” and actually attempting to physically stop him.
“Stay, stay, nine! Stay, nine,” shouts Gaüzère, hopeful that Munster will be able to play the ball away from the collapsed scrum and eager to remind Pyrgos that he needs to stay onside. The offside line for Pyrgos here is the ball.
Murray puts his hands on the ball and briefly rotates it on the ground…
… begging the question of whether he has actually played it here.
The law book tells us that a scrum ends “when the ball reaches the feet of the hindmost player and it is picked up by that player or is played by that team’s scrum-half.”
Whether Murray actually ‘plays’ the ball here is debatable but, generally, a scrum-half lifting the ball out of the scrum is accepted as ‘playing’ the ball.
Murray takes his hands off the ball again…
… appealing for a bit of space, before he finally lifts it off the ground and attempts to pass to Earls to the left of the scrum.
Pyrgos just can’t resist the temptation and slaps the ball down with his right hand as Murray releases the pass, instantly resulting in Gaüzère bringing his whistle to his lips and blowing for a Munster penalty.
As he does so, there is plenty going on around him.
Click here if you cannot view the clip above
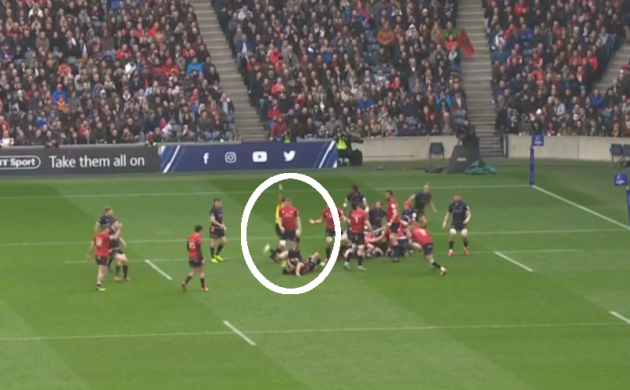
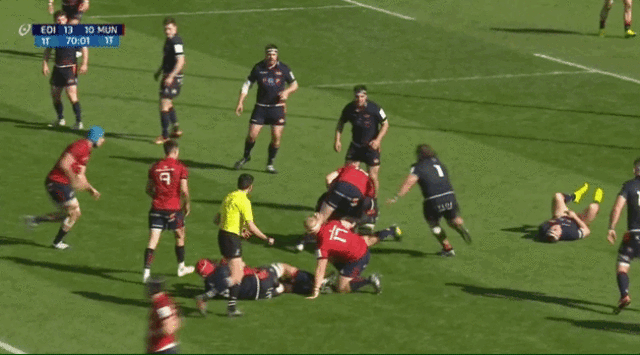
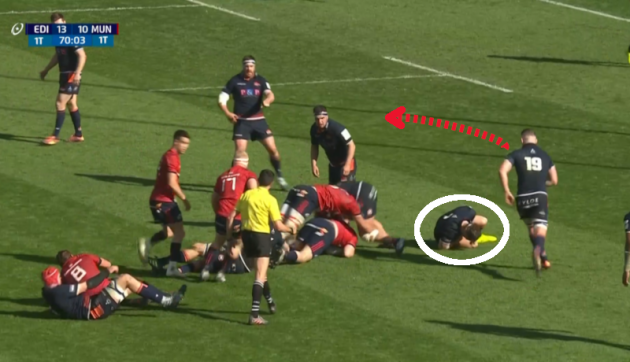
After briefly indicating his displeasure to Gaüzère, Murray reacts in frustration by wrapping his left arm over Pyrgos’ left shoulder and wrestling him backwards onto the ground and over his right shoulder in a suplex-style motion.
Pyrgos rotates right over himself and this action from Murray probably should have resulted in a reversal of the penalty.
Gaüzère doesn’t get a view of the incident, seemingly following the ball with his eyes.
His peripheral vision is also blocked by Farrell [white below].
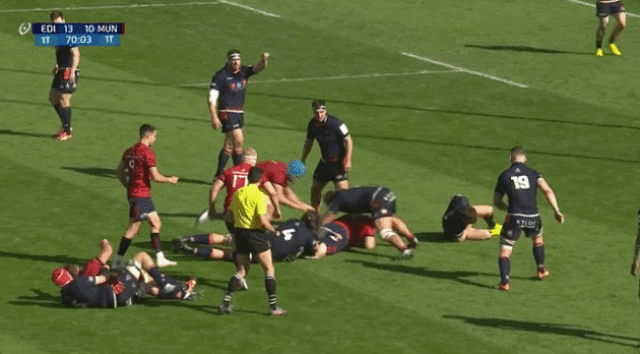
As we can see below, Farrell actually moves to check on Pyrgos after he’s been wrestled to ground.
Click here if you cannot view the clip above
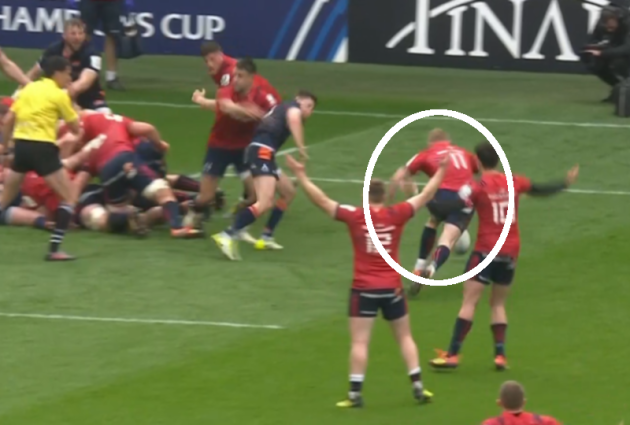
Damagingly for Edinburgh, flanker Hamish Watson also moves towards Pyrgos, rather than attempting to get back onto the tryline immediately to defend.
Out-half van der Walt does the same and it leaves Edinburgh in a poor position to deal with Earls’ superb reaction.
Even before the whistle has gone, Earls is scampering to gather the ball.
Earls scoops it up and, intent on playing the advantage, is heading towards the blindside of the scrum until he hears Gaüzère whistle for the penalty.
The Munster wing almost immediately reverses himself and changes tack, realising the opportunity.
Earls deftly quick-taps on the move and darts past Watson – who is on his way to check on the Pyrgos situation – leaving him one-on-one with Mata close to the tryline.
The 31-year-old finishes with a fluid, slaloming step on Mata, selling him with an initial shift off his left side but then instantly powering back off his right and diving over for the score, retreating Edinburgh centre Chris Dean unable to slow him either.
Click here if you cannot view the clip above
Edinburgh instantly appeal to Gaüzère about Murray’s actions on Pyrgos but the referee seems unsure what they’re even talking about.
Captain McInally approaches him in complaint, but Gaüzère replies, “He [Pyrgos] slapped the ball deliberately, it’s a penalty. He [Earls] played the penalty, try.”
With Gaüzère’s TMO opting not to intervene either, the Edinburgh complaints fall on deaf ears and Earls’ quick thinking gets a seven-point reward as Joey Carbery slots the conversion.
Earls’ second try proved to be the decisive score in this game, with Tyler Bleyendaal’s excellent conversion giving Munster the breathing room to see out the game with some hard-working defence in the closing minutes.
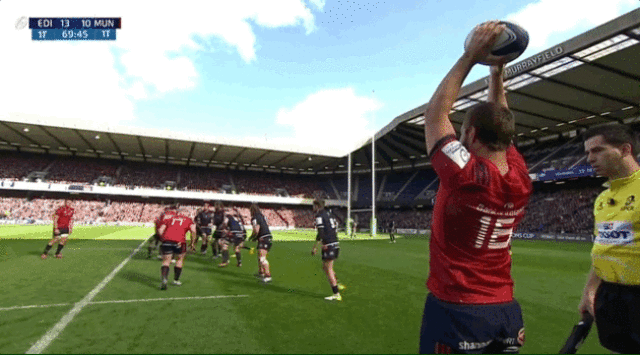
Again, it starts with an overthrow but it’s not deliberate this time.
Click here if you cannot view the clip above
Munster use receiver CJ Stander as a lifter at the tail of the lineout here, the number eight entering the lineout after Rhys Marshall has thrown the ball.
Stander and Stephen Archer get Beirne into the air but the timing between throw and lift is off as the ball flies over Beirne’s head before he gets to the apex of his jump.
There’s a real risk of Munster losing possession but Bleyendaal shows alertness to rush up and gather in the bouncing ball.
Arno Botha, Billy Holland and Rory Scannell hit the ruck before Murray moves the ball left for Stander to carry.
Click here if you cannot view the clip above
Stander is repelled in the tackle but Edinburgh are unfortunate that Watson sustains the arm injury that ends his game, sending him to ground in pain and, importantly, removing a defender from the home team’s defensive line.
Grant Gilchrist drives Stander backwards but Archer rips the ball from his team-mate and bursts upfield to be tackled by Ben Toolis.
With Archer having become isolated in making that rip from Stander, Edinburgh’s Pierre Schoeman is a suddenly real threat to Munster’s possession.
It takes an excellent clearout from Beirne to deny Schoeman a possible turnover.
Click here if you cannot view the clip above
Beirne accelerates into Schoeman, dipping low and binding onto the prop’s left arm and left leg to destabilise him.
It’s enough to shift Schoeman away from the ball and leaves Murray in position to launch the scoring phase.
Just as Beirne is clearing out Schoeman, there is a key defensive decision from Edinburgh’s Magnus Bradbury.
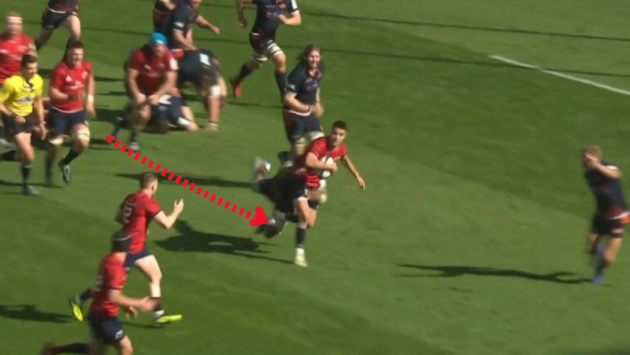
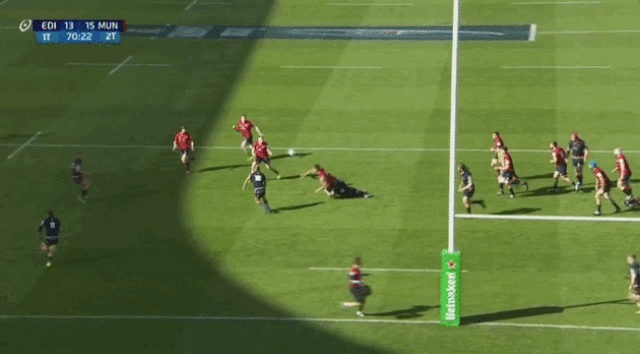
With Watson [white above] on the ground in pain, Bradbury opts to fold around the corner to the far side of the ruck [as indicated in red].
On the ground ahead of the ruck and therefore offside and unable to defend on the next phase are Gilchrist and tackler Toolis.
The combined effect of those facts is that Edinburgh are numbers down on the right-hand side of Munster’s ruck.
Murray gets good communication from Rory Scannell, who has worked back to the first receiver position, and the scrum-half bounces back against the grain.
We can see Murray glancing to his right as he approaches the ruck in the clip below, responding to the call outside him.
Click here if you cannot view the clip above
The sweeping move from Munster is going to perfectly take advantage of the exposed Edinburgh defence.
Just before Stander’s carry, we can see how Edinburgh’s defence has set up.
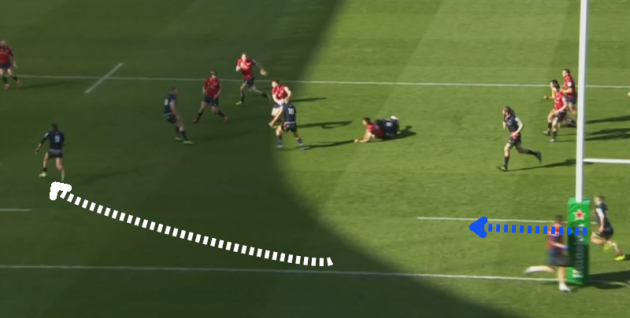
As for the first try, Pyrgos has swept from his starting position in the five-metre channel at the lineout to a backfield slot [as indicated in white].
Fullback Darcy Graham [blue above] has swept all the way to the right of the backfield early on, covering in the space behind that side of the frontline defence.
As Munster shift back to their right, Pyrgos will be left in a tricky position.
As we can see in the shot above, O’Mahony [6] has held the width after the lineout – providing Munster with additional scope to swing back to that side.
Murray kick-starts the phase by sniping to his right, darting outside Mata – who had just shifted closer to the ruck after Bradbury folds.
Murray is essentially running across the pitch, even slightly downfield, but his acceleration gets him outside Mata and takes the Edinburgh number eight out of the defensive equation as he dives into a tackle.
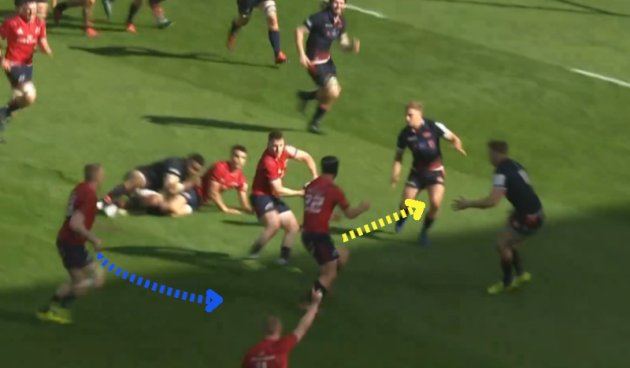
But Murray offloads one-handed to Scannell, who turns outside and has Bleyendaal running a short line on his right [yellow below], while Chris Farrell is out the back [blue].
Bleyendaal’s line is important.
Having already saved the lineout overthrow, he has worked hard back into the attacking line and straightens Munster up here.
Even after Scannell passes out the back of him, Bleyendaal ‘stays big’ and gets a bump on van der Walt ahead of the ball [yellow below], taking him out of the defensive line.
Farrell has had to work hard to be in position to accept this pass from Scannell.
As we can see below, Farrell [blue] is set up to the left-hand side as Stander receives the ball from Murray.
As Stander is transferring the ball to Archer, Farrell gets in motion, sweeping behind the ruck as Beirne clears it out and ending up as part of the backline attack over on the right-hand side.
It’s good work-rate from Farrell and his arrival makes life even more difficult for the already-stretched Edinburgh defence.
As we can see below, Pyrgos is reacting to the clear danger by sweeping up from the backfield [white] as Graham [blue] attempts to sprint across too.
Pyrgos is arriving up into the line at pace and with little time to make a decision – Edinburgh now firmly in scramble mode.
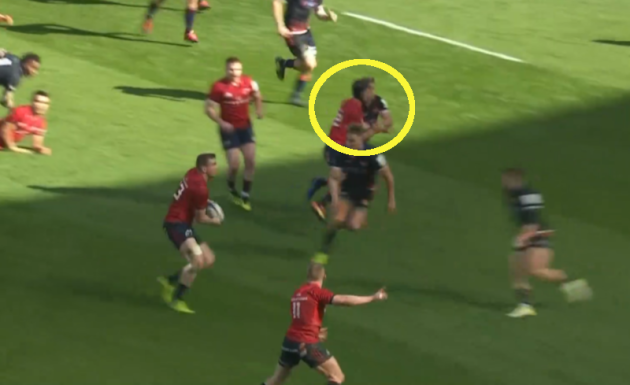
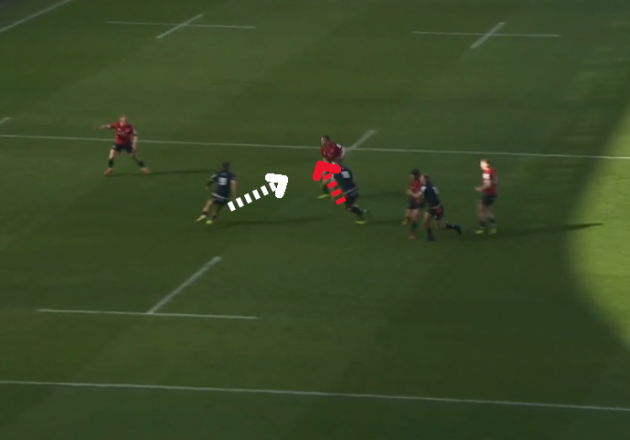
Van der Merwe actually manages to drift off the decoy-running Bleyendaal and out onto Farrell here [as indicated in red below].
But Pyrgos also shoots up on Farrell [white], leaving Edinburgh with two defenders engaging the same Munster player.
The handling from Farrell to send Earls hurtling into space is wonderful, a clean transfer across his body as Pyrgos closes on him.
Click here if you cannot view the clip above
Munster’s passing ability has let them down on big occasions in recent seasons and van Graan identified it as a crucial area for improvement when he arrived as head coach.
To see his players catch and pass so accurately in this instance was highly satisfying.
“We as a coaching group really enjoyed it; it just showed that eight months of hard work comes through in hard moments,” said the Munster boss post-match.
Farrell hits Earls with the pass and, with Pyrgos having bitten in, the wing doesn’t even need the spare man on his outside in O’Mahony.
Click here if you cannot view the clip above
Earls shows rapid acceleration into the right-hand corner, beating Graham to the tryline after the Edinburgh fullback’s effort to track back across the pitch.
The finish from Earls is highly accurate.
He dives early to ensure he’s not going to be tackled into touch and keeps the ball in two hands until he’s planted it firmly down in the in-goal area to seal the score.
Subscribe to our new podcast, The42 Rugby Weekly, here:
