HOW MUCH CAN you bench? If you care about the answer to this question then this article is for you.
Let me just qualify this article by saying that you do not have to bench press. If you don’t want to, simply don’t. The only people that actually have to perform the flat barbell bench press are powerlifters.
I don’t think anyone would argue that it is impossible to develop a strong and aesthetically pleasing upper body without ever benching – there are many other upper body exercises to choose from if you wish such as dips, dumbbell presses and so on.
Rightly or wrongly, however, the bench press has become the so called ‘king of upper body movements.’
As such a big bench lends to gym credibility and it’s a really good exercise to determine general strength qualities since there are so many metrics available (weight lifted versus bodyweight) with which to measure yourself against.
Now before we go on, bear this in mind – bench pressing is a skill.
It won’t happen by accident.
The first thing to understand is that the bench press is not a ‘chest’ exercise – it’s an ‘everything’ exercise.
If you don’t believe me then test your bench press, then re-test your bench press with your feet up in the air and report the findings. 95% of people will be stronger with their feet on the ground and the other 5% are seriously missing out kilograms on the bar because they are kicking their feet up in the gym when they should be saving that for when they are at home on the couch.
Think about it – you are connected to the ground via your feet (either flat or on your toes depending on your set-up) with the bar sitting very far away from them in the palm your hands. What muscles exist between your feet and your outstretched arms? All of them. So use them to your advantage.
The set up
1. Lie back until your eyes are roughly under the bar. You don’t want to be too far behind the bar and risk hitting the pins on your way up or too far in front of the bar and have to lose your tightness taking the bar out from very far behind you. Torso and arm length will mean the exact positioning will vary from person to person, but eyes lined up is a good start point to begin.
2. Grip the bar where you feel comfortable. There is no universal grip. If you have very broad clavicles your grip will most likely be wider than someone with naturally narrow clavicles. Conversely, if you have very strong triceps and weaker pecs then a narrow grip may allow you to press more weight, but will increase the distance that the bar has to travel to lock out. Conversely if you are a pec-dominant bench presser then a wider grip may play to your strengths. Whatever the case may be, get consistent with whatever grip you choose.
3. Squeeze your shoulder blades together and down and hold them there. Put your left shoulder in your back right pocket and your right shoulder in your left back pocket. Sounds easy until you try it.
4. Pull your feet back and push them through the ground being mindful not to push your bum up off the bench. As you push your feet you should be pushing yourself back up the bench, but not up in the air off it.
5. Hold the bar as tight as you can keep your elbows out slightly and your wrists straight. Note that the bar may not be sitting dead straight across your hand but rather at a slight angle so that the bar sits over your wrist joint when your hand is closed.
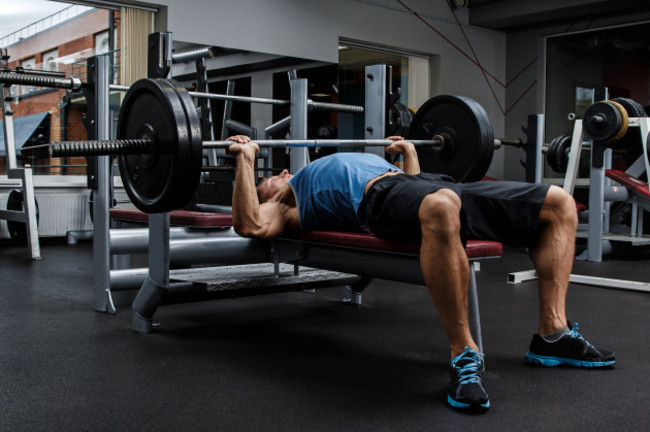
6. Take a deep breath into your belly and take the bar out without losing the tightness that you have created. You are now ready to bench
7. Now, in the start position you should be tight head to toe with your torso full of air, arms extended with your shoulder blades retracted and depressed. This is not necessarily a comfortable position to be in, your hips or hamstrings might cramp up and it might feel exhausting maintaining the position but it’s a really good way to lift more while protecting your shoulder joints.
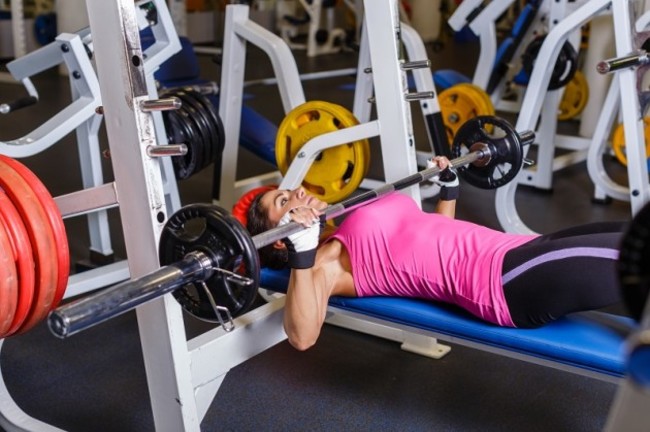
8. Lower the bar in a controlled manner keeping your wrists and elbows under the bar pulling your elbows in slightly as you do so. At the bottom of the lift the bar will touch the sternum.
9. Do not lower it to your neck. If you got this right while touching the chest your elbows and wrists will be aligned under the bar so that when you push you are pushing directly through the bar.
10. If your wrists are closer to your face than your elbows you risk losing the bar path off your chest and having the bar drift towards your face.
This is a take home point – your face and the bar should never be connected. If they are then something has gone horribly wrong and you are most likely going to end up a YouTube sensation on one of those fail blog websites.
Don’t be that guy/girl. This is why safety bars were invented by the way – so use them.
If your wrists are further away from your face than your elbows then you are most likely pushing the bar towards your toes instead of up to where the movement began.
Take home point number two – do not send the bar to your crotch. This should go without saying, but your reproductive organs hate heavy objects landing on them.
Avoid this and ensure that you will avoid pain and reap the gratitude of future generations who will exist as a direct result of you not crushing your junk.
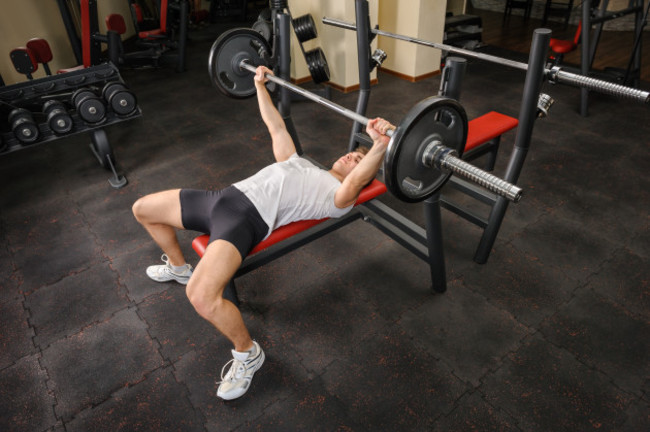
With the bar on your sternum it’s time to reverse the bar. Do not try to do this slowly, the intent here is to move the bar aggressively back to the start position. Remember these points:
- Don’t let your elbows flare WAY out as you push
- Don’t relax, you must always stay in control
- Don’t let your shoulders pop up towards your ears
- Don’t exhale too soon
- For the love of god don’t start tap-dancing… keep your feet planted on the ground as outlined above
- Push the bar away from your body while pushing your feet into the ground and keeping your back tight
- Finally exhale as you lock the bar out – not before.
Kieran Hegarty is a professional strength and wellness coach and owner of EverStrength.
For more information, you can follow him on Facebook, Instagram and Twitter.
The42 is on Snapchat! Tap the button below on your phone to add!